I must confess. This is not my first Red Velvet attempt made this year. I have tried multiple recipes and had almost given up. Between a batch of ultra dry semi-brown cement cakes and a sloppy cheap flavored box mix, it was clearly written in the dough, give it up Dom! But with all the cupcake craze surrounding us through every media outlet, (TLC’s DC Cupcakes, Food Networks’ Cupcake Wars, and not to mention the entire book shelf in Chapters dedicated to Cupcake décor) I had to give it one last try. Turning to my current baking bible: The Complete Magnolia Bakery, I discovered the Red Velvet Cake covered in not too sweet whipped Vanilla Icing.
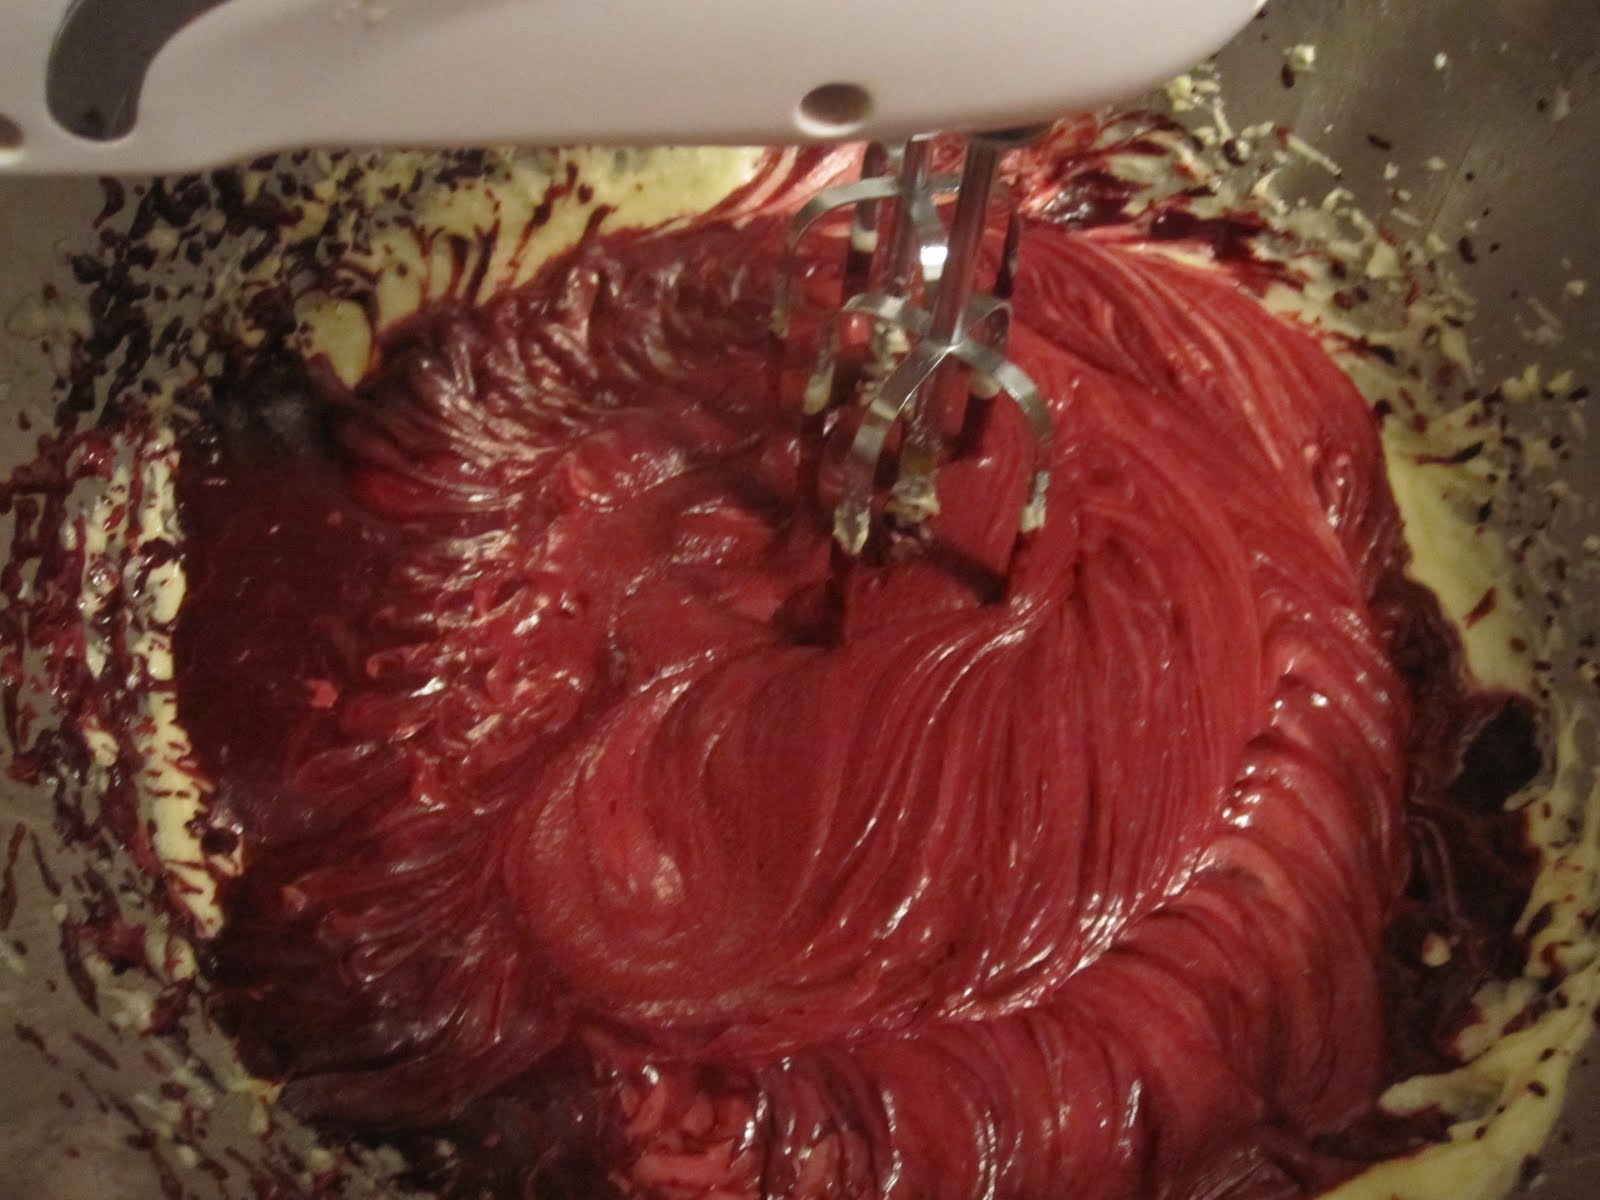
The fabulous part of this cake is its deep chocolate flavor, disguised in a vivid candy red. When I say Red, I mean stain your fingers and mouth red. Yes, the best kind. When reading the history of this cake, I was impressed at the idea that women would boil and grate beets in order to grasp that deep crimson red that we adore so much. I defaulted to the convenience of food coloring without sacrificing flavor and doused these mini cakes in the fluffiest most delicate icing I have come across thus far.
Xo Dom Appetit!


Red Velvet Cupcakes with a Creamy Vanilla Icing
Cook Time: 18-20 mins
Tools Needed: 2 cupcake pans, 3 small bowl, sifter, large bowl, electric mixer, measuring cups and spoons, spoon, rubber spatula,
Ingredients:
3 1/3 cups cake flour (not self-rising)
¾ cup of unsalted softened butter
2 ¼ cups sugar
3 large eggs (room temperature)
6 tablespoons of red food coloring (3 small bottles)
3 tablespoons of unsweetened cocoa
1 ½ teaspoons vanilla extract
1 ½ teaspoons of salt
1 ½ cups of buttermilk
1 ½ teaspoons of cider vinegar
1 ½ teaspoons baking soda
Directions:
1) Preheat oven to 350 degrees. Line 2 cupcake trays with paper liners
2) In a small bowl, sift the cake flour and set aside. In a large bowl, on the medium speed of an electric mixer, cream the butter and sugar until very light and fluffy, about 5 mins. Add the eggs, one at a time, beating well after each addition.
3) In a small bowl, whisk together red food coloring, cocoa, and vanilla. Add to the batter and beat well. In a measuring cup, stir the salt into the buttermilk. Add to the batter in 3 parts, alternating with the flour. With each addition, beat until the ingredients are incorporated, but do not overbeat.
4) In a small bowl, stir together the cider vinegar and baking soda. Add to the batter and mix well. Using a rubber spatula, scrape down the batter in the bowl, making sure the ingredients are well blended and the batter is smooth. Spoon batter into lined cups and bake for 18-20mins, checking with a toothpick (ready when comes out clean). Cool and Ice!
Creamy Vanilla Icing
Cook Time: 20 mins (30 mins sitting time)
Tools Needed: medium-size saucepan, whisk, waxed paper, large bowl, electric mixer, measuring cups and spoons
Ingredients:
6 tablespoons of all-purpose flour
2 cups of milk
2 cups of unsalted softened butter
2 cups of sugar
2 teaspoons of vanilla extract
Directions:
1) In a medium-size saucepan, whisk the flour into the milk until smooth. Please over medium heat and, stirring constantly, cook until the mixture becomes very thick and begins to bubble, 10-15 mins. Cover with waxed paper placed directly on the surgace and cool to room temperature (30 mins)
2) In a large bowl, on the medium high speed of an electric mixer, beat the butter for 3 mins, until smooth and creamy. Gradually add the sugar, beating continuously for 3 mins until fluffy. Add the vanilla and beat well
3) Add the cooled milk mixture, and continue to beat on the medium high speed for 5 mins, until very smooth and noticeably whiter in color. Cover and refrigerate for 15 mins (no less-no longer!) Use immediately
No comments:
Post a Comment